
Insight 109 — Implant Impressions: The Goal
When we take an impression of a prepared tooth, we copy the surface of the tooth. The impression material sets around the tooth and gives us a negative of the shape of the preparation. The lab pours stone into it and makes a stone model (cast) on which the prepared tooth is reproduced exactly, and the technician builds the crown on this model.
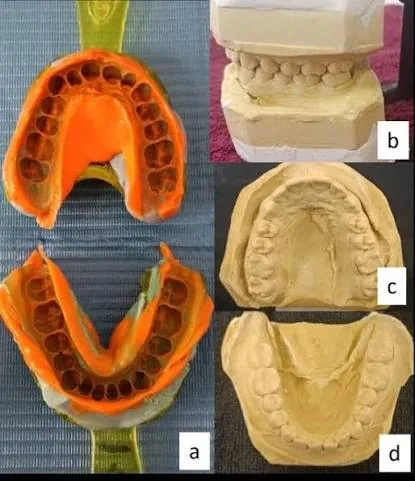
With an implant, this approach does not work. An implant (or fixture) is a titanium screw inside the bone whose top is covered by the gingiva, and even if we can see its head, the shape of this small surface does not tell us exactly where the implant is and which way it is inclined. So in an implant impression we are not after copying a surface; instead, we transfer the position of the implant from the patient’s mouth to the stone model.
The components that do this
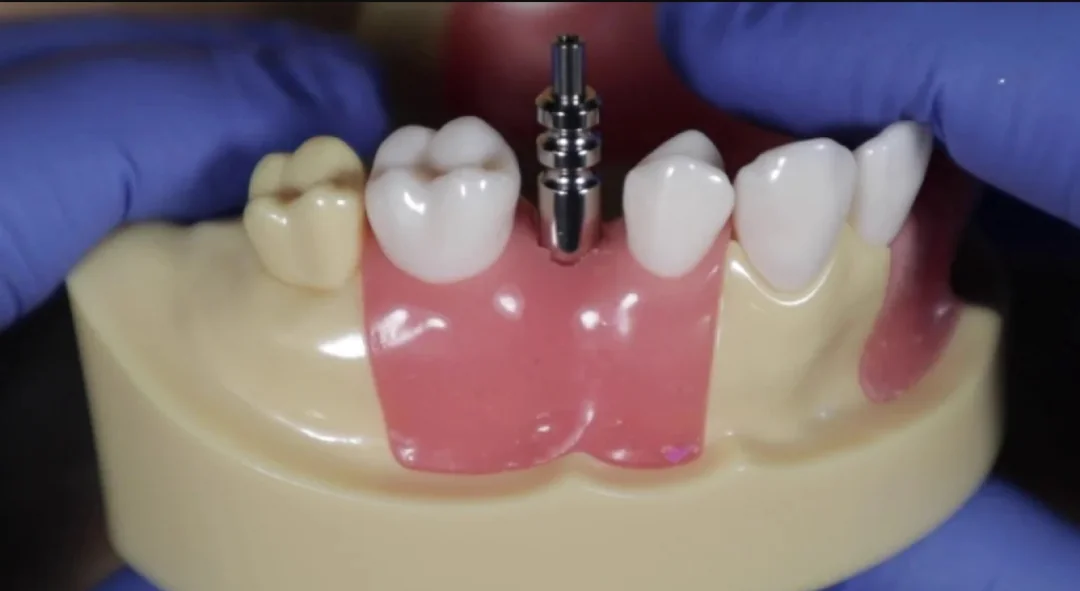
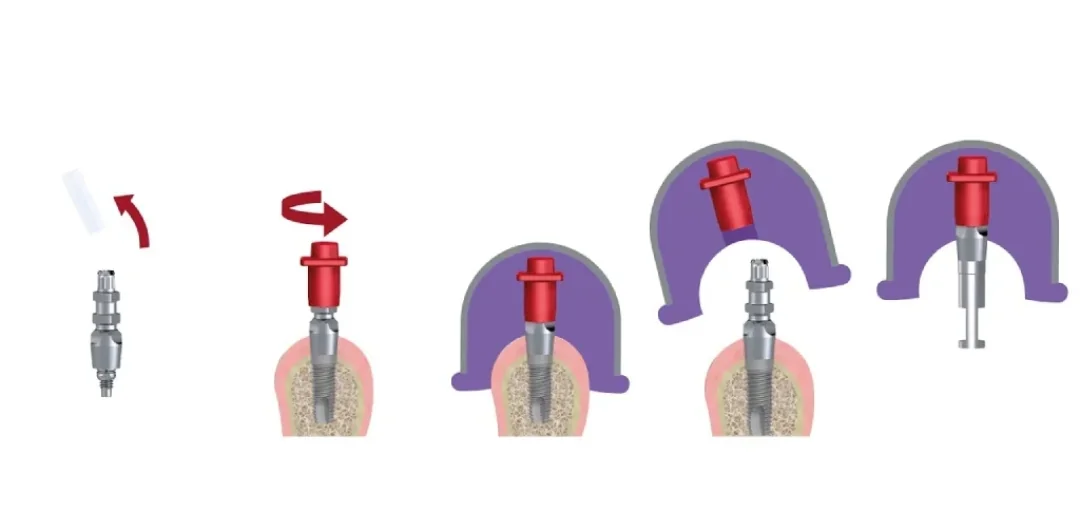
The first is the impression coping, a small metal component that is screwed onto the implant and projects through the gingiva. Because the coping is fastened onto the implant without play, wherever the implant is, the coping is in exactly the same place. So instead of the implant, we take the impression of the coping. The coping is, in effect, an extension of the implant that we have brought out so that the impression can record it.
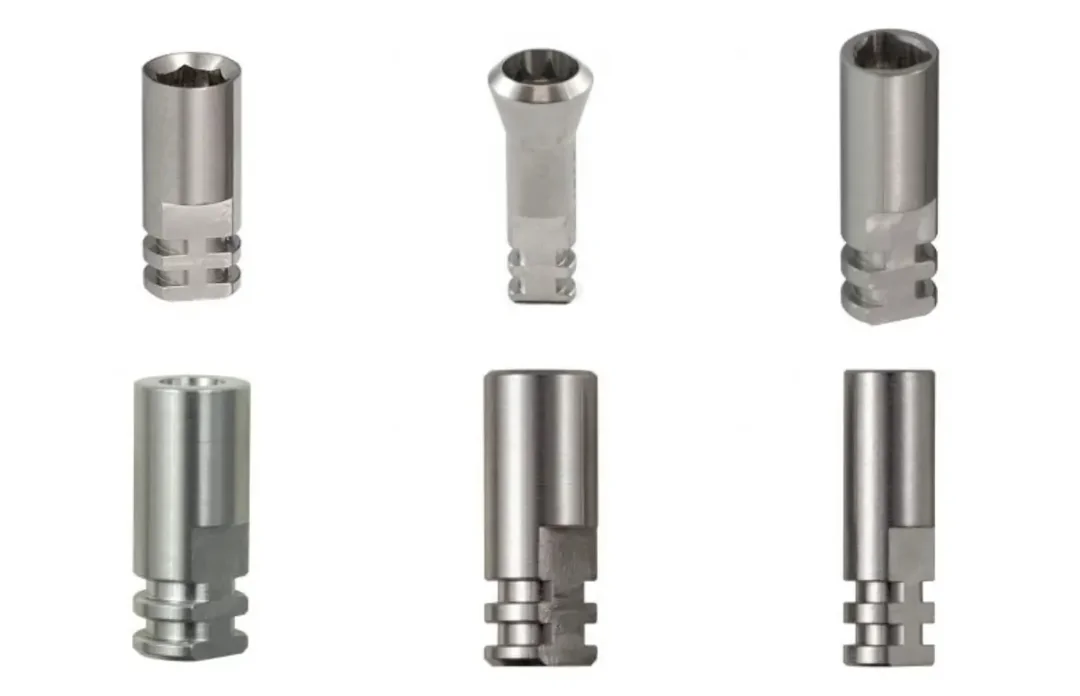
The second is the analog, a metal component whose top has exactly the shape of the implant head, with the same connection and the same internal thread for the screw, but which goes into the stone model instead of the bone. Instead of threads, the lower part of the analog has grooves and flat surfaces so that it stays firmly in the stone and does not rotate. Put simply, the analog is the implant’s stand-in at the lab.
At the lab, the analog is attached to the impression coping in such a way that the coping sits exactly where it was recorded in the mouth within the impression, and then stone is poured. When the stone has set, the analog is locked in the stone in the same position that the implant has in the patient’s bone, and any component the technician builds on it will also seat on the implant in the mouth.
So the chain is: implant, coping, impression, analog, stone. If any link shifts even slightly, the analog no longer has the same position as the implant in the mouth.
What exactly is transferred
First, location and depth, that is, whether the implant head is more mesial or distal, toward the cheek or the tongue, and how far below the gingival margin it is. Based on this depth, the technician determines the height of the abutment, that is, the component between the implant and the crown, and the position of the crown margin.
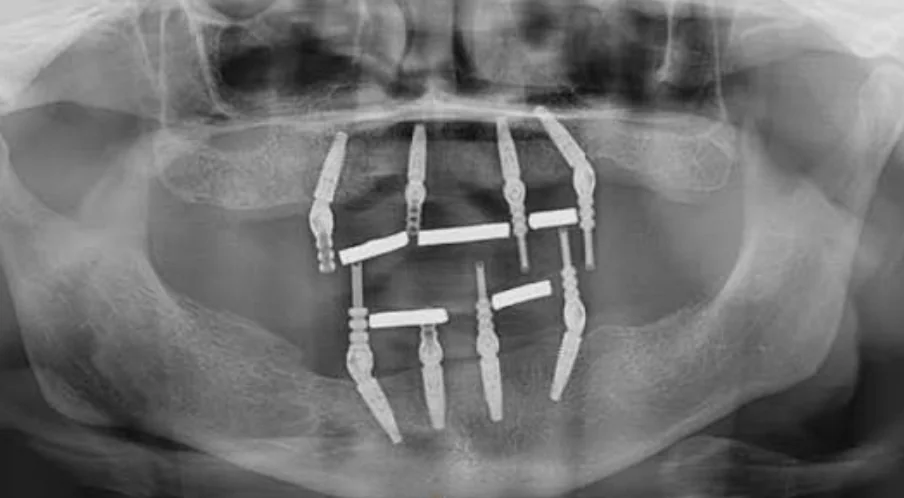
Second, angulation. The surgeon places the implant where the bone is, not necessarily where the ideal crown would want it, so the implant is sometimes slightly tilted. The technician needs to know this to decide whether an angled abutment is needed and where the crown’s screw-access hole will emerge on the tooth. When we have several implants, their angulation relative to one another also matters, because the prosthesis must be able to go onto all of them along a single path and seat.
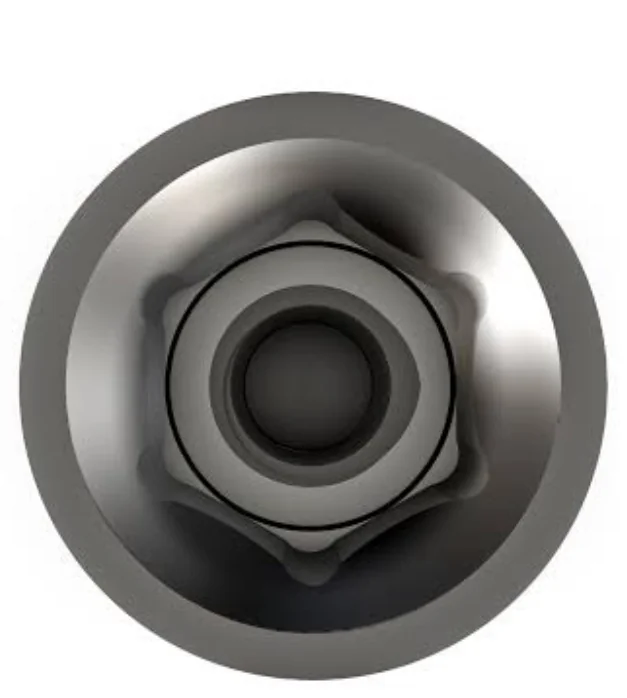
Third, rotational orientation. The head of most implants has an anti-rotational feature, called anti-rotation. The most common one is the hex, that is, a hexagon. The base of the abutment has the same hexagon and seats on the implant in only six defined positions. If the orientation of the hex on the model does not match the mouth, the abutment will seat in the mouth rotated by a few degrees, and the margins, the crown shape and its contact with the opposing teeth will be disrupted. This matters a great deal for a single crown. In multi-unit prostheses we usually use components that do not engage the hex, but there the location and angulation of the implants relative to one another become more critical.
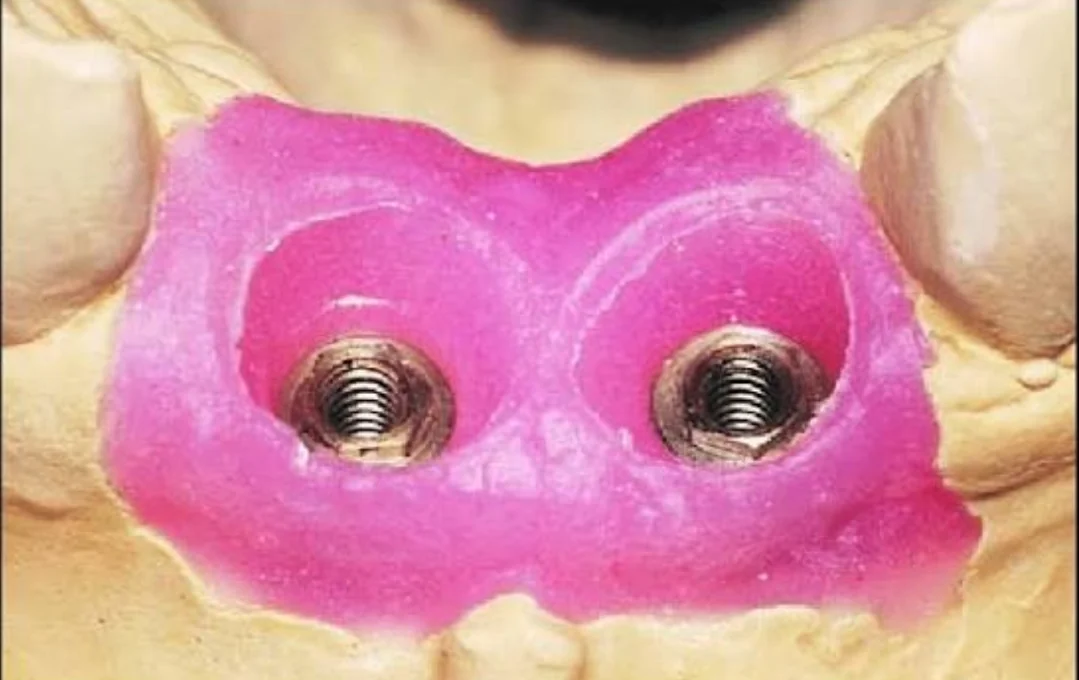
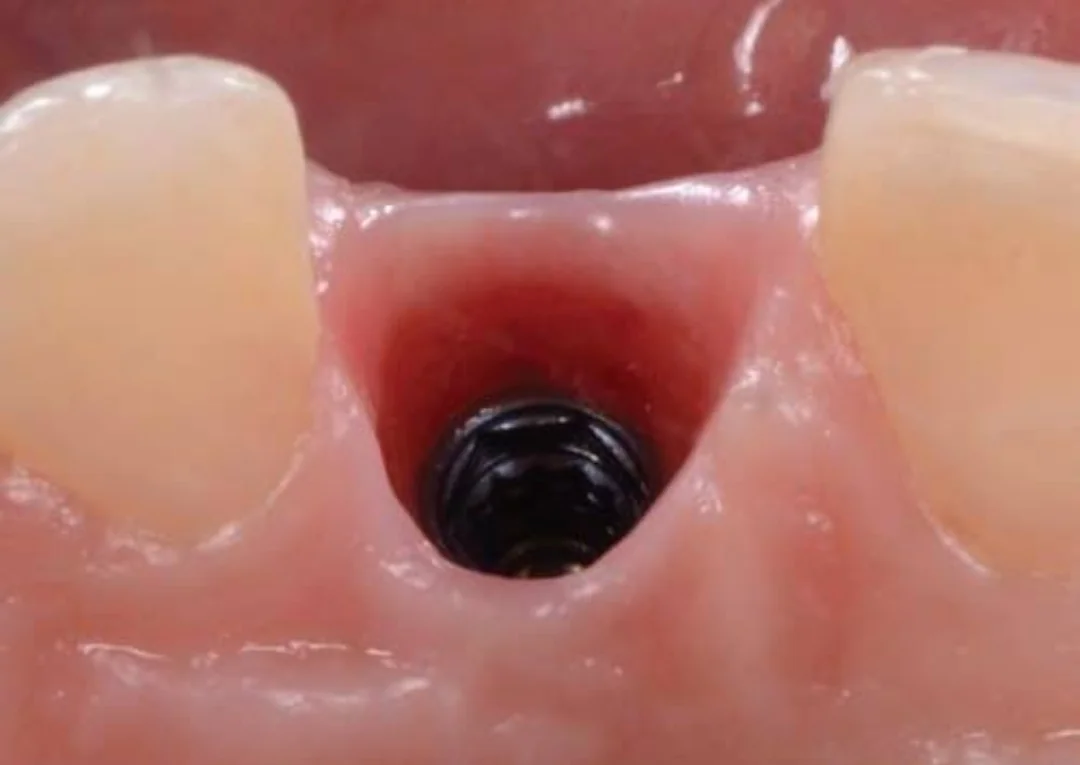
Fourth, the shape of the gingiva. This one is no longer the implant’s position; it is copying a surface again, but the surface of the gingiva around the implant. After the implant has integrated, we usually place a healing abutment or a provisional crown so that the gingiva takes shape around it and a tunnel forms through which the final crown will emerge. The shape of this emergence is called the emergence profile, the same tunnels that can also be seen in the pink tissue in Figure 4. The problem is that after the healing abutment or provisional crown is removed, the gingiva collapses within a few minutes, and a standard coping, which is round and narrow, does not fill this tunnel to preserve its shape. If this shape is not recorded, the technician designs it by guesswork, and the result is either excess pressure on the gingiva or a void where plaque can accumulate.
Why accuracy matters so much
Between the root of a natural tooth and the bone there is a layer called the PDL that allows the tooth to move on the order of tens of microns, and this movement compensates for part of the small error of a bridge. An implant is fused directly to the bone and its movement is on the order of a few microns, so any error in transferring the position is passed directly to the prosthesis.
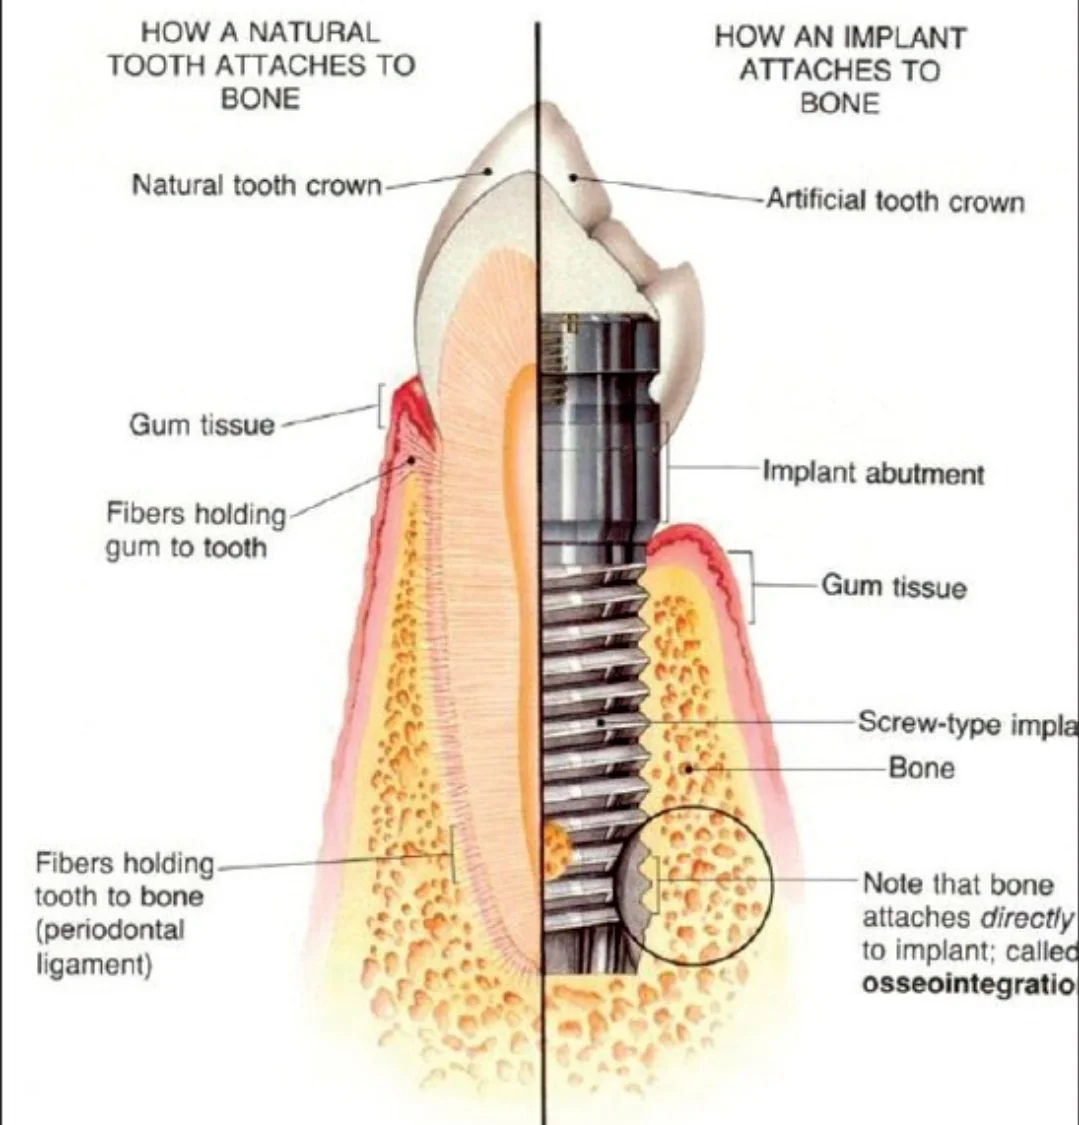
The result of such an error is that the prosthesis lacks a passive fit, meaning it does not seat without stress on the implants and, when the screw is tightened, it is forced into place. The stress that is created remains in the screw, the abutment, the body of the prosthesis and the implant–bone interface, and clinically we mostly see it as loosening or fracture of the screw and components.
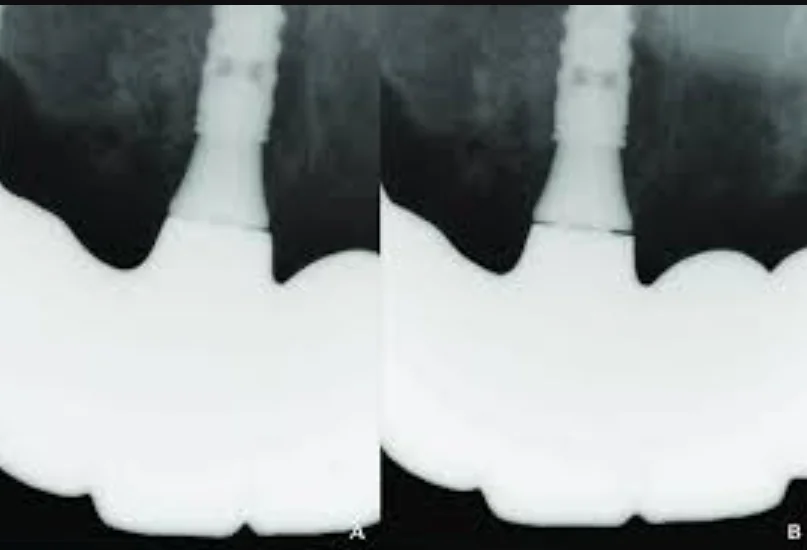
Of course, in practice a 100% passive fit is often not achieved, because every step from impression to fabrication of the prosthesis adds a little error. The goal is for the sum of these errors to stay within what the system can tolerate, and because the impression is the first step, if the location, angulation or orientation of the implant is transferred incorrectly right here, the later steps do not compensate for it and the error carries through to the final prosthesis.
This page is intended for educational use by dentists and dental students.